Step 1 — Open Windsurf Editor
Launch Windsurf, then open an existing project folder or create a new one from the welcome screen.
Launch Windsurf, then open an existing project folder or create a new one from the welcome screen.
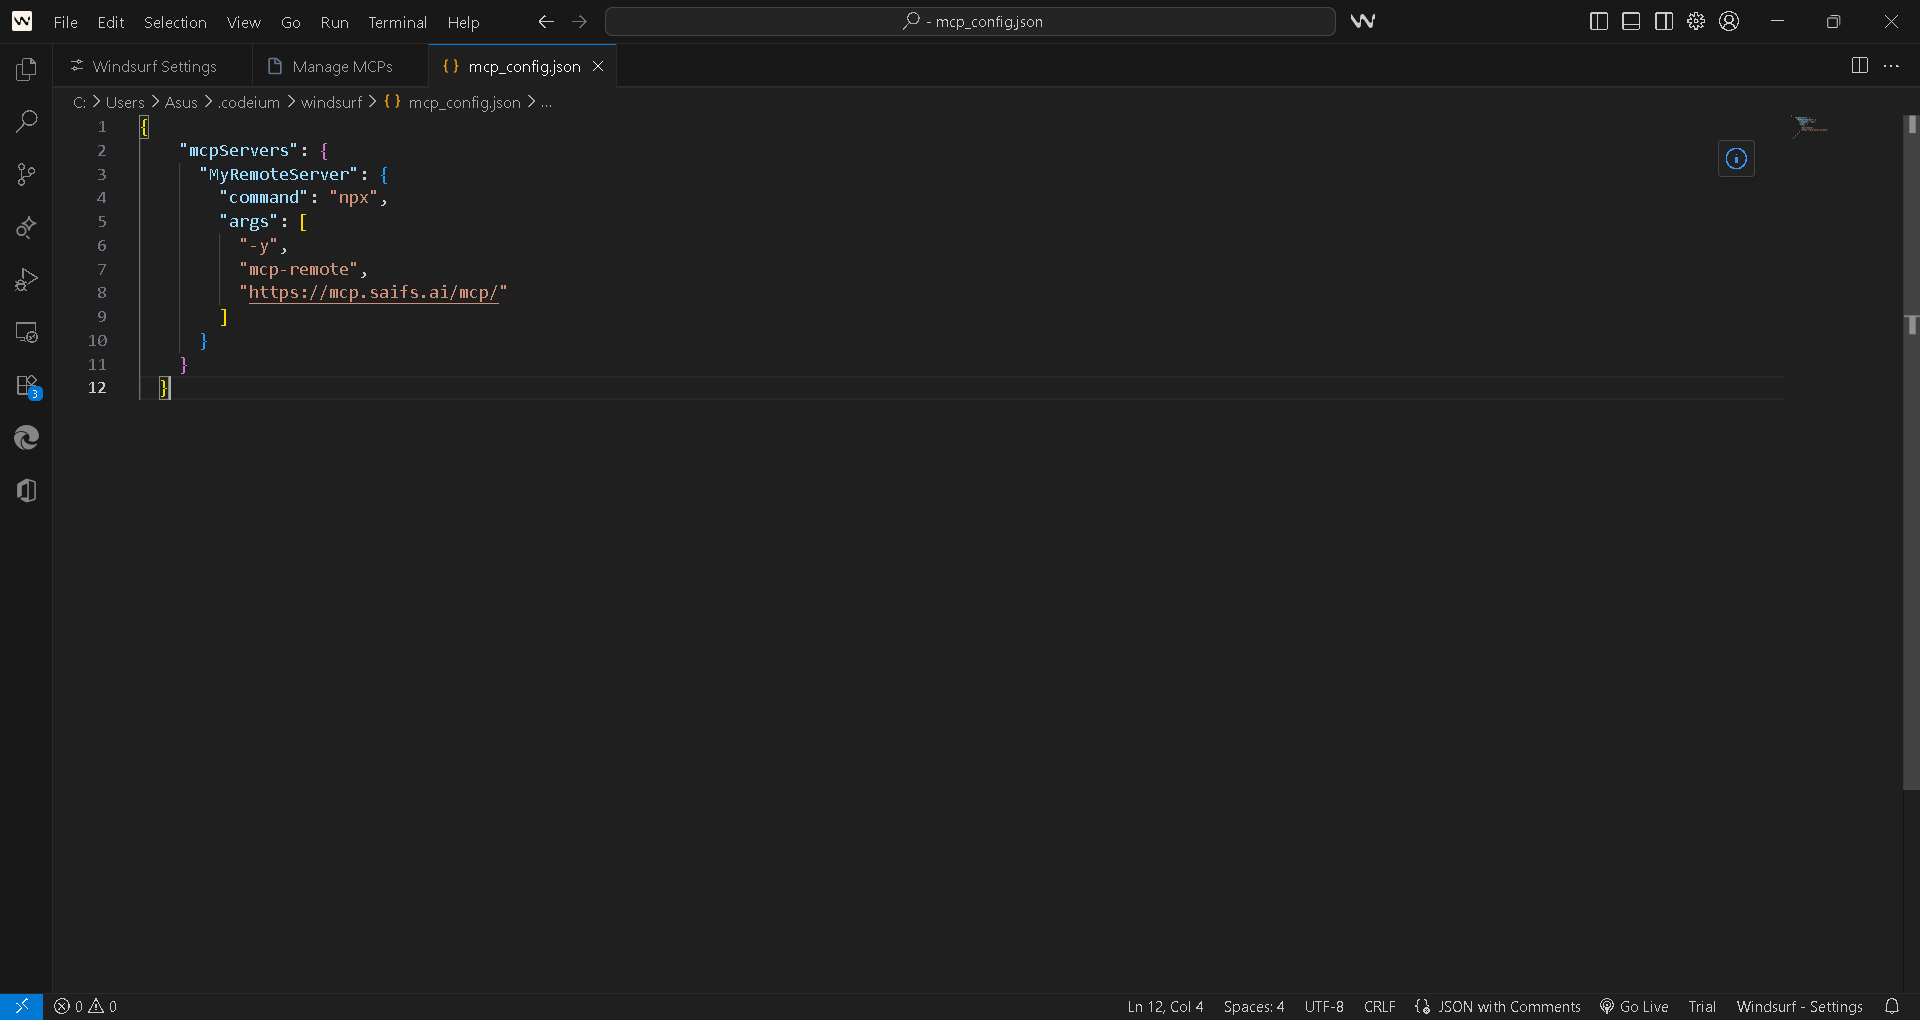
Open or create mcp_config.json in your project or settings directory and add your MCP server details (command, args, and endpoint URL) as shown.
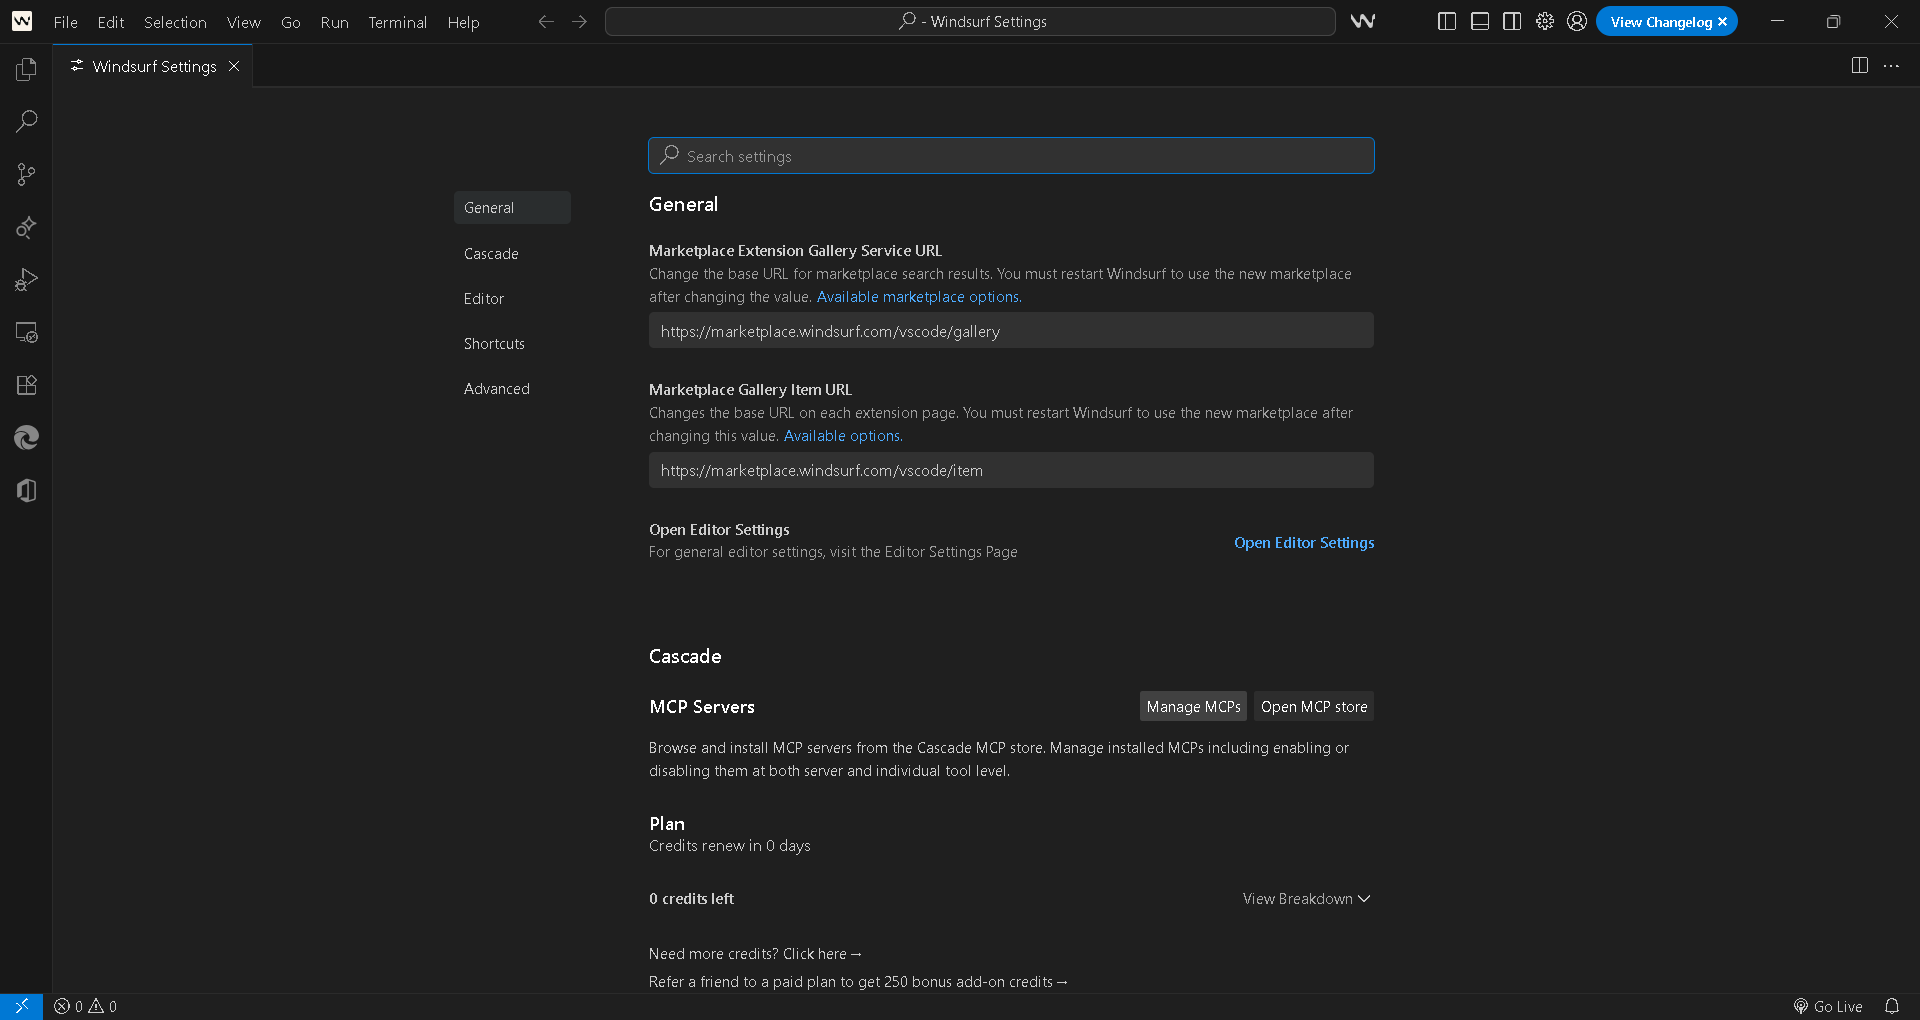
Open Windsurf settings and go to the Cascade or MCP Servers section. Click Manage MCPs or Open MCP store to browse, install, or view connected servers.
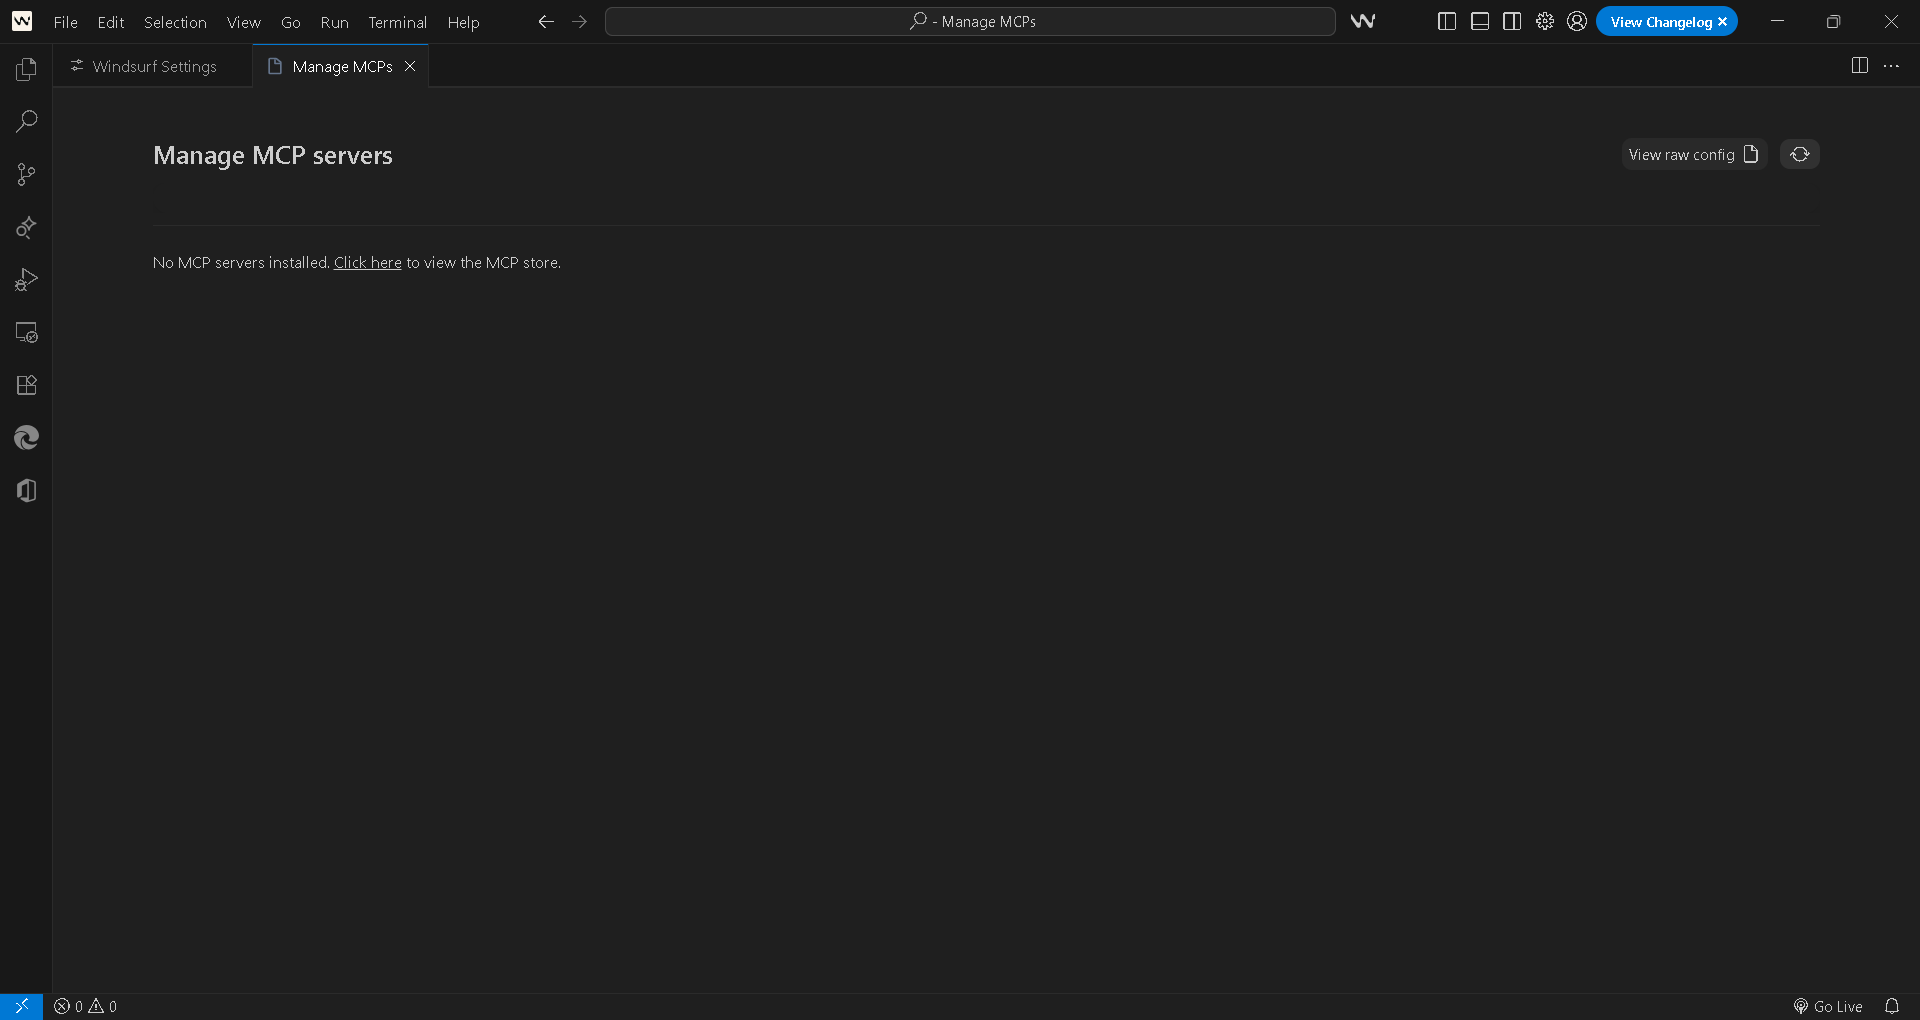
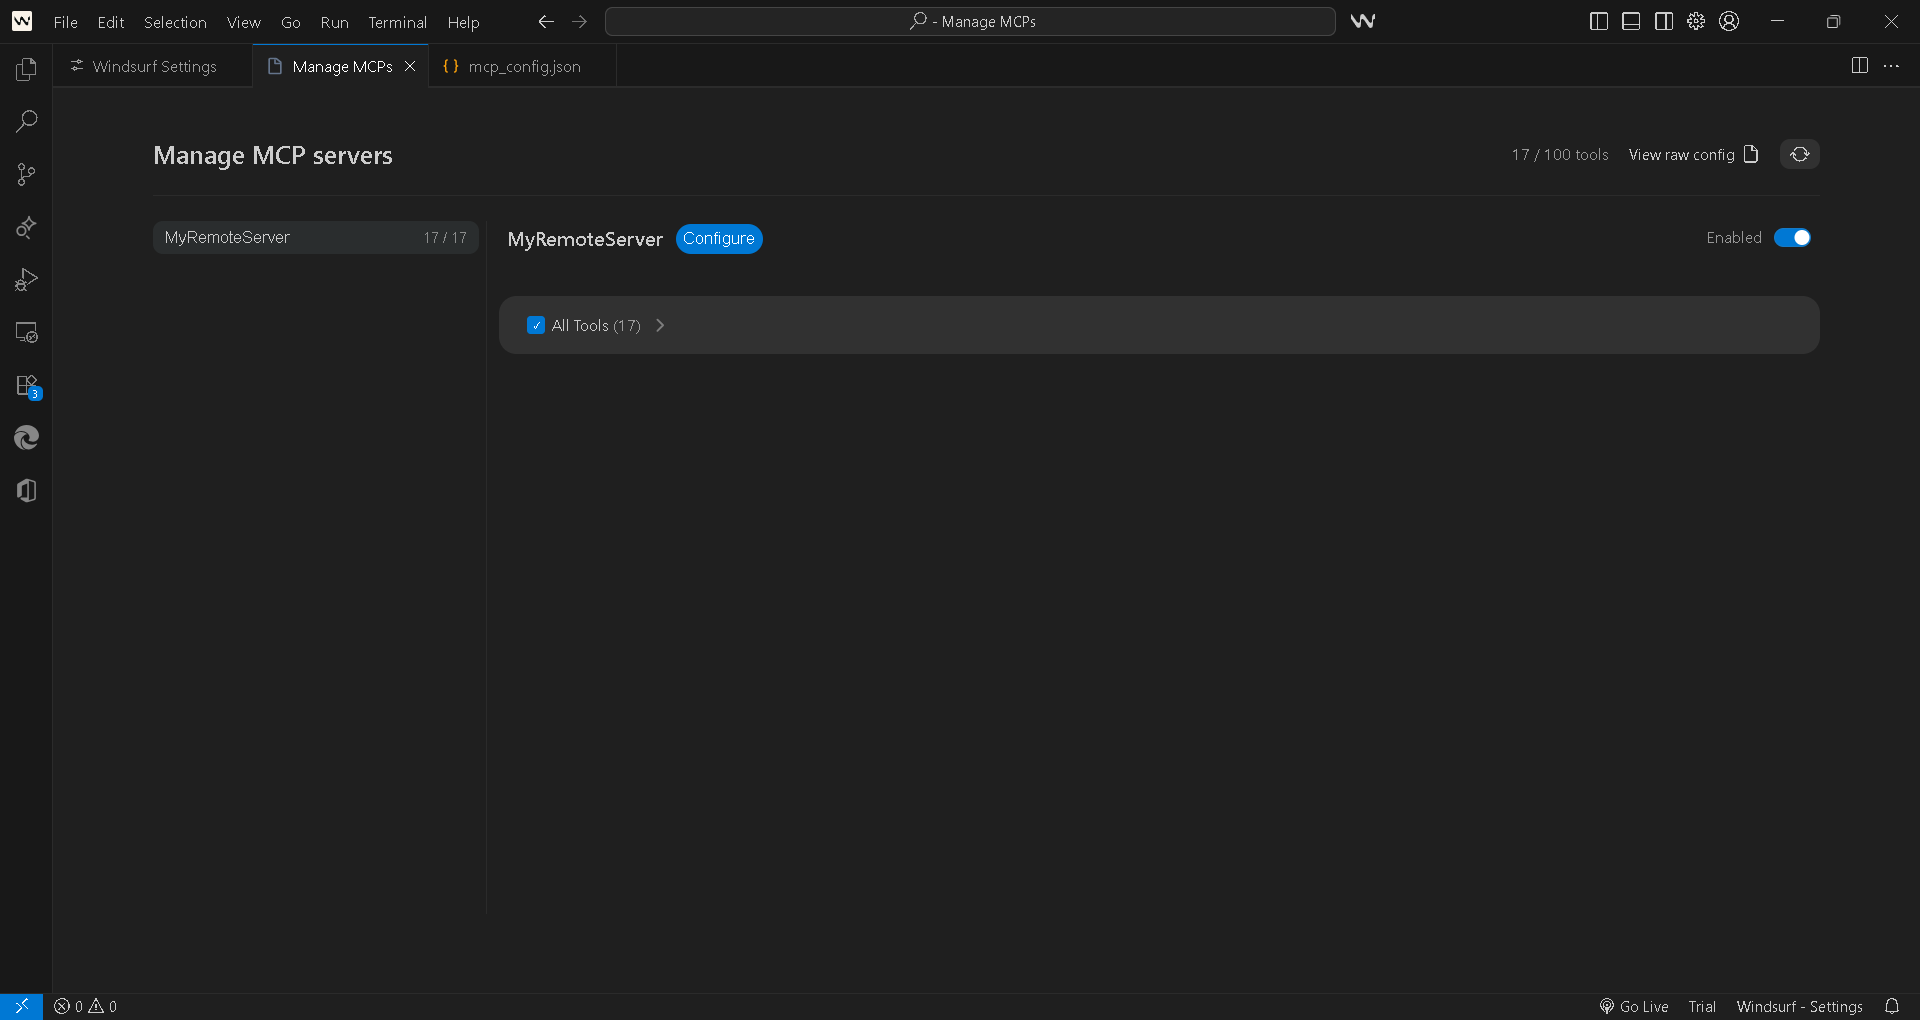
Use the Manage MCP servers interface to check installed server status or add new ones. Use View raw config to edit the underlying configuration directly (see image 4).
{
  "mcpServers": {
    "MyRemoteServer": {
      "command": "npx",
      "args": [
        "-y",
        "mcp-remote",
        "https://mcp.saifs.ai/mcp/"
      ]
    }
  }
}
Review the server status view to confirm connectivity and available tools.
The toggle switch next to your MCP server should be enabled (ON), indicating that "MyRemoteServer" is active and successfully connected in Windsurf. All available tools from the MCP server are now accessible and ready for use, confirming complete integration and operational status.